
Content types
A content type is one kind of thing your team works on. Each content type has its own page under My Data, its own properties and its own prompts. Etals also uses the content type to know what an agent is writing for: a product description is not written like a store guide.
Built-in kinds and your own
Etals knows three kinds well and gives them extra features. Anything else is a content type of your own.
In the sidebar, all kinds share one list under My Data. A content type’s menu can add it to your favorites, which show at the top, or move it into a folder. Content types that come from a connected platform are grouped under that platform, and the page header shows “Linked to” with the platform’s name or logo.
Nordvik’s content types
Create a content type
There are two ways. Both create the same thing.
From Setup
Use this when you want Etals to learn the new type right away.
Open Onboarding
Go to Setup > Onboarding and click Add content type at the end of the My Data group in the left list.
Pick or create
The Add a content type window has three sections. Your content types lists content types already in Etals that aren’t part of onboarding yet. Content Etals creates lists formats Etals writes from a brief, such as articles, emails and social posts. Under Something new, click Create a new content type, type a Name (for example “Store guides”) and click Create and add.
From the sidebar
Open the form
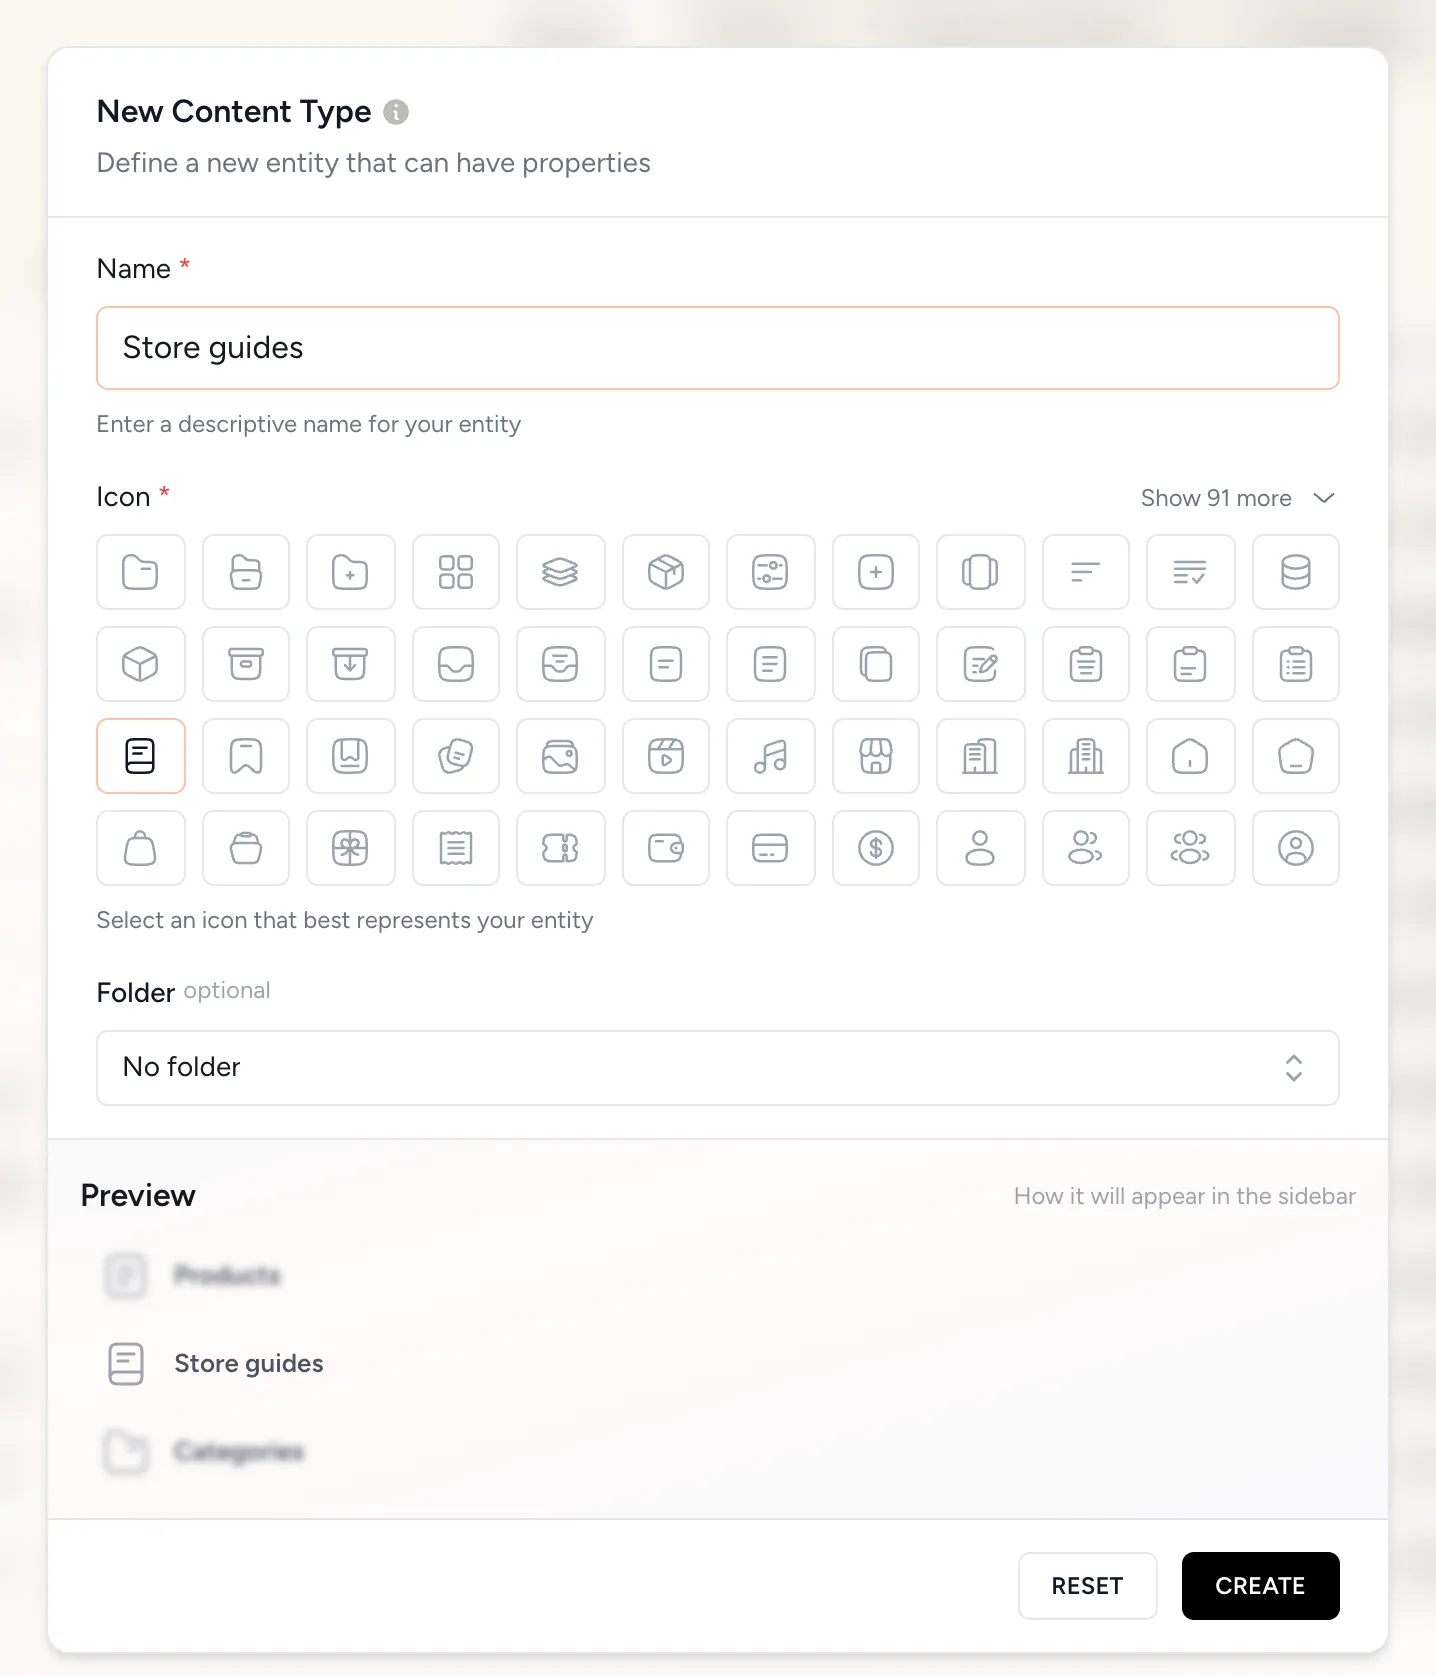
In the sidebar, hover My Data, click the + button and choose New content type. The New Content Type window opens.
Name it and pick an icon
Fill in Name (for example “Store guides”) and choose an Icon. Pick a Folder if you want to file it in one. A preview shows how it will look in the sidebar.
Create
Click Create. Etals opens the new content type, still empty. Add properties on the Properties & prompts tab, then bring in items. See Import.
You need permission to manage content types to see the + button.
The setup wizard
Each content type in Setup > Onboarding has a “Set up” step. Click Set up (or Edit once it’s done) to open a short wizard.
Click Finish setup on the last step. You can change everything later in My Data > Properties & prompts.
Finishing setup is what lets agents read the item they’re working on. Until then, agents only see what your prompts pass them. See What agents see.
If Etals can’t tell what a new type holds, the Properties step also asks Shown in My Data as. That choice decides the page layout and how Etals trains for it.
Groups
A group is a slice of one content type, for example Nordvik’s “Footwear” (Granite Trail Boot and Fell Running Shoe) or “Insulated jackets”. Groups exist so that a property can apply to some items only. A “Sole type” property makes sense for footwear, not for a beanie.
To make a group, open the content type’s Groups tab and click New group. Give it a Group name and then either:
- By conditions: rules such as “Category is Footwear”. New items that match join the group by themselves. The editor shows how many items match.
- Pick products: tick the items by hand.
Click Create group. You can also filter the items and save the result as a group from the save menu (Save as a group).
Then limit a property to the group: on Properties & prompts, click the property’s Applies to cell, choose Only products in these groups, tick the group and click Apply. Tasks and crawls then skip that property for items outside the group, and the item editor’s Completeness no longer counts it for them.
Archiving
Archiving hides a content type from every view and from AI context. Its data is kept, and the content type can be restored. To archive one, open its menu in the sidebar and choose Archive content type, then confirm with Archive. You need permission to manage content types, and content types linked to a connected platform can’t be archived this way. There is no restore button yet; contact Etals support if you want an archived content type back.